The invoicing period will open on the 1st of the month and close on the 5th of the month.
When the invoicing period is open, you'll see a blue banner notifying you that the invoice window is open. When this blue banner is displayed you can click 'Go to payment centre' or go directly to the payment centre by using the sidebar. You'll also receive an email notification from Croud Control to say the invoicing period is open.

Once you're in the payment centre, you can view all the work which is ready to invoice. Before clicking 'Create invoice', please review the completed work and ensure it's all correct. When you've checked that all information is correct, click 'Create Invoice'.
If the button is greyed out, this means you don't have any work ready to be invoiced for that month. The button will also be greyed out if the invoicing window has expired if you have already invoiced, or if your payment details have not been received. If this is the case, please send the completed account set up form to CroudieID@croud.com.

Once you click on 'Create invoice', you'll be taken through three stages to ensure the invoice being generated is correct.
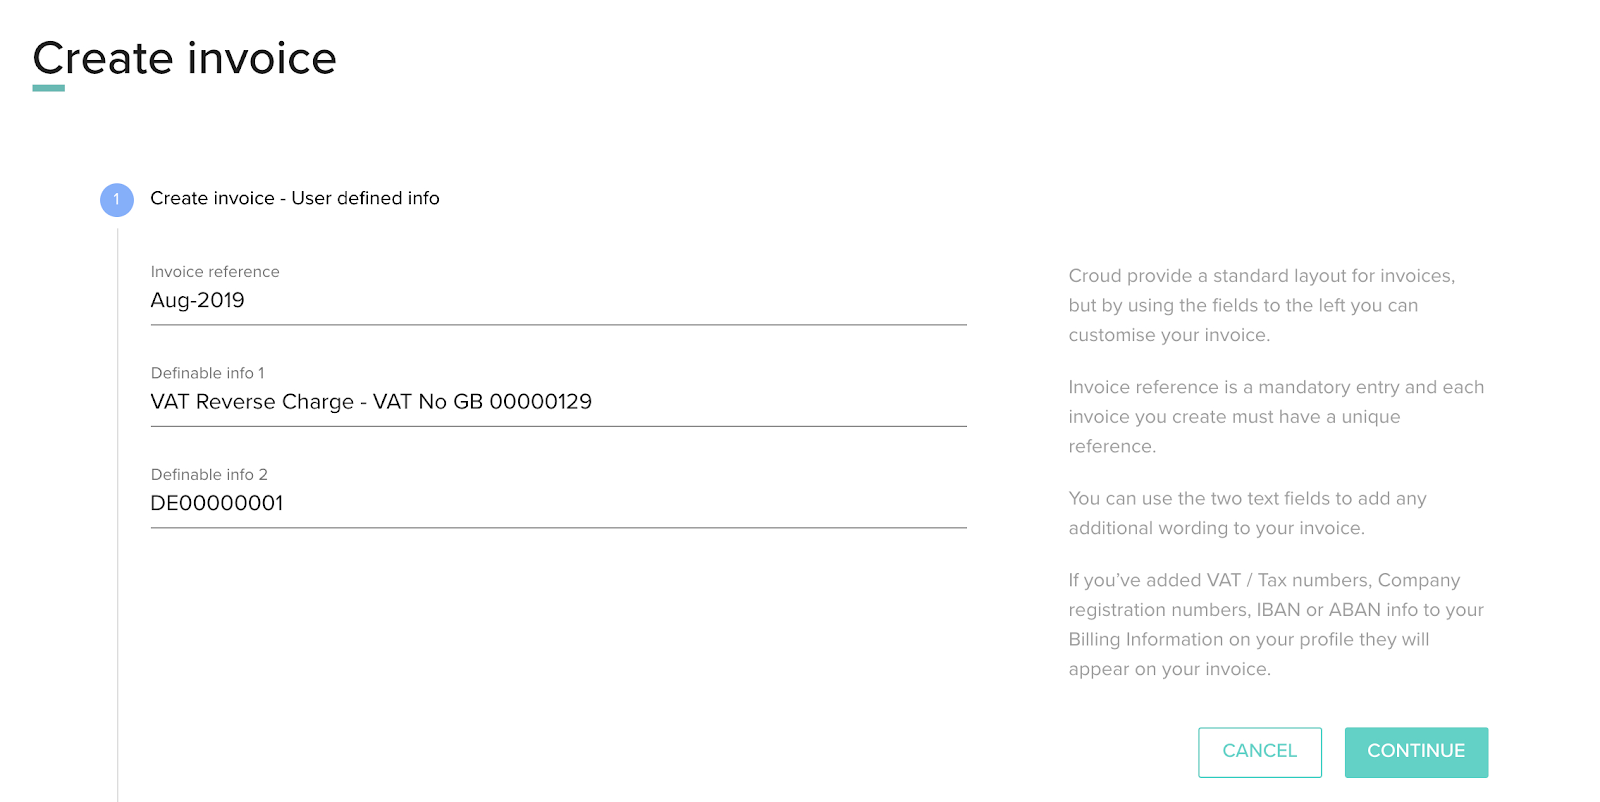
Adding definable information
This is where you can add any definable information. The following fields are shown for you to input the following:
- An invoice reference
- Definable info 1
- Definable info 2
The invoice reference is a combination of letters and numbers that is unique to you. This reference will show on your invoice and be clear to you that that is your invoice.
The two definable info fields are not required to progress to the next step. However, they're there for you to add any more information to your invoice which is not in the payment details sent over in the account set up form. For example, you may need to add a VAT Reverse Charge to your invoice.
When you're happy with the information provided, click 'Continue' to go to the next stage. If you click 'Cancel', you'll be taken back to the 'Work ready for invoicing' page, and the information provided will not be saved.
Previewing your invoice
Here is where you're able to see a preview of your invoice. We advise that you double-check all the information is correct before continuing. If you want to change any details, or want to backdate any tasks which aren’t showing on the invoice, click “Restart” and contact croudsupport@croud.com.
Once you've checked over your invoice, click 'Continue'.

Final checks
Again, please double-check you're completely satisfied with your invoice, as once you click 'Generate invoice' you won't be able to backdate any tasks or edit your invoice.
Once you've double-checked that everything is correct, click 'Generate invoice'. The invoice will now be submitted to the finance team for payment on the 19th of the month.

Now your invoice has been generated, you'll be taken back to the 'Invoices' section where you can download and view your invoice as a PDF.

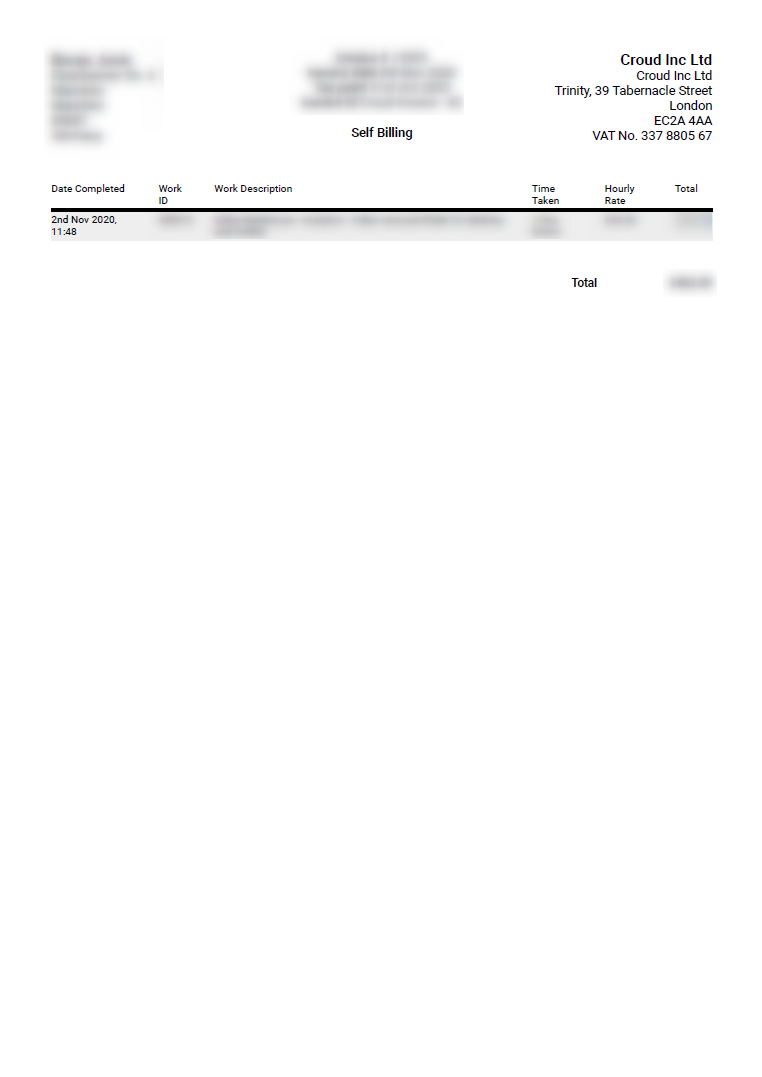
Here's a preview of how your PDF download will look: